Breach the Bastion Spire Deck Builder Brewer Class Guide
Reagents, cauldron brew, spore engines, steam bursts, and ally cover for solo or four-player climbs.
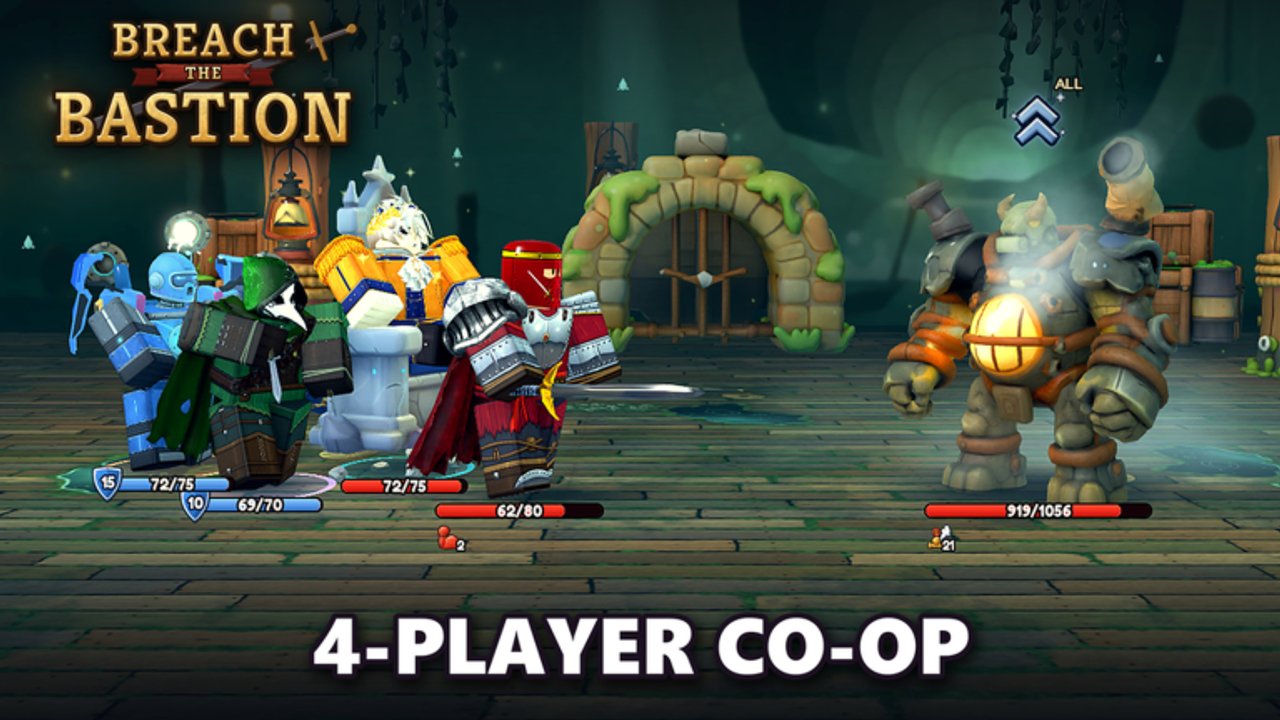
The Brewer class arrived in November 2026 as a brew-and-cauldron fantasy for Breach the Bastion: Spire Deck Builder. It rewards setup, area damage with sustain, and protective tools that shine when you bring friends. This guide covers reagents, the cauldron loop, known kit themes, drafting priorities, relic ideas, and co-op habits. For character identity and cross-links, also open the Brewer player page and patch context on Brewer Update. Community placement lives on Classes Tier List—opinion for Nov 2026, not an official ladder.
Who should play Brewer
Choose Brewer if you like:
- Multi-turn engines over pure face damage
- AoE plus regen patterns that stabilize hallway packs
- Covering allies with Stand Guard in co-op
- Positioning around a cauldron fantasy and brew conversions
Pick another class if you want the absolute simplest “play two attacks” tutorial experience—then return here after Getting Started and How to Play.
Reagents and the cauldron
Community gameplay highlights three reagents that feed the brew fantasy—think of them as colored brew ingredients rather than separate classes:
| Reagent | Color cue (community) | Role in the plan |
|---|---|---|
| Amber | Warm / red-leaning | Fuel for brew conversions and tempo |
| Shell | Cool / blue-leaning | Armor-break and shell-pressure lines |
| Spore | Green-leaning | DoT stacks that enable Spore Burst payoffs |
You load reagents into the cauldron. Practical habits observed in early Brewer sessions:
- First brew each combat — the kit grants one energy the first time you brew in a fight. Open with a brew when you need tempo; do not waste the first-brew window on a dead turn.
- Cauldron capacity — when the cauldron is full it takes no more. Spend or convert before you keep stuffing reagents into a capped vessel.
- Hold vs dump — early turns often hold reagents for a planned burst; mid-fight you dump into Alembic block or Spore Burst once enemies commit intent.
Exact stack caps and UI labels can hotfix—verify tooltips in the live client after every update.
Kit themes and cards to know
Exact costs and upgrades can shift; verify in-game. Community-facing tools and names include:
- Spores — status/DoT style pressure that sets up later bursts.
- Spore Burst — about 12 AoE damage plus regen for every hero (community reads: strong multiplayer, still solid solo).
- Steam Burst — burst payoff once steam/brew lines are online.
- Alembic — convert brew value into block; core defensive engine piece.
- Stand Guard — cover an ally in co-op; alone it reads as a larger personal block package.
- Glass Shards / Shell Breaker — offensive edges for breaking tanks or finishing (Shell Breaker pairs with the Shell reagent fantasy).
- Stir — setup/manipulation that keeps the cauldron plan moving.
- Quick Draw — draw support so engines actually appear on time.
- Steam Engine — long-term engine card; draft when you already survive early elites.
Watch the mid-article gameplay video for timing and animations, then practice the same lines in a low-stakes hallway path. Pair path choices with Path Planning so cauldron setup turns are not forced into back-to-back elites.
Solo game plan
- Early: take cheap setup (Stir, Spores, Quick Draw) and a defend/Alembic path so you do not brick on Frog Parasite-tier swings.
- Mid: add Spore Burst / Steam Burst only when setup density is real.
- Thin starter clutter via shops—Deck Building rules still apply.
- Path rests before elites until Alembic or Stand Guard makes heavy hits survivable—Beat Elites.
- Bosses: enter with potions plus a clear brew→block or brew→burst sentence.
Co-op game plan
Brewer’s ceiling rises with party play (up to four total). Assign yourself as cover + AoE sustain:
- Call Stand Guard targets before big enemy swings.
- Use Spore Burst-style regen to stabilize after messy hallway turns.
- Do not greed every damage rare—your job is keeping the burst teammate alive.
- Align path votes; shared elite greed kills four runs at once—see Co-op.
Relics that talk to Brewer
- Happy Flower — classic-style sustain/energy vibes; keeps engines fed (verify exact effect in patch).
- Ember Strike — noted for changing regions near the cauldron; path with cauldron relevance in mind.
- Generic winners: energy, draw, and block relics that shorten the setup runway.
Score relics with Relics Tier List and the broader Tier List Hub. Prefer relics that accelerate brew conversion over raw damage piles that ignore your block story.
Draft priorities (quick reference)
| Priority | Look for | Skip when |
|---|---|---|
| S | Alembic, Stand Guard, on-plan draw | You already have duplicates clogging |
| A | Spores, Spore Burst, Steam Burst | No setup yet |
| B | Glass Shards, Shell Breaker, Stir | Pure hallway already solved |
| C | Steam Engine | Act 1 before defenses exist |
Common mistakes
- Drafting every brew card without removals.
- Forgetting Stand Guard exists until an ally is already lethal.
- Contesting early elites with zero block conversion.
- Ignoring potion banks because “regen will handle it.”
- Building Ember Strike lines then pathing away from cauldron-relevant nodes.
Practice route
- Redeem helpful gifts from Codes via How to Redeem.
- Run two solo climbs focused only on Alembic timing.
- Run one co-op climb where you speak Stand Guard targets every elite.
- Review class opinion on Players Hub and rankings after patches on Updates.
- Optional tools: Run Checklist, Tools, Scripts, Auto Combat, Links, Wiki, Guides Hub.
Brewer rewards patience: brew, convert, cover, then burst. Once that rhythm clicks, the Bastion’s multi-enemy nodes stop feeling like chores and start feeling like fuel.
Frequently Asked Questions
Quick answers to the most common questions.
Is Brewer good for beginners?
It is learnable but busier than pure attack kits. Finish Getting Started and How to Play first, then practice Alembic and Stand Guard in safe hallways.
Does Stand Guard work in solo?
Treat it as a strong personal block tool when no ally needs cover. In co-op, prioritize endangered teammates.
What are Amber, Shell, and Spore?
They are the three reagents that feed Brewer’s cauldron. Amber fuels tempo brew, Shell supports armor-break lines, and Spore sets up Spore Burst. Exact caps change—check live tooltips.
What makes Spore Burst special?
It combines AoE pressure with party-wide regen fantasy (community reads around 12 AoE plus regen), helping clear packs without abandoning survivability.
What is the first-brew energy bonus?
The first time you brew each combat, Brewer gains one energy. Open fights with a meaningful brew when you need tempo, and empty a full cauldron before it stops accepting reagents.
Which relics should Brewer chase?
Happy Flower and Ember Strike are notable examples; energy, draw, and block relics that speed brew conversion are generally high value.
Where is the Brewer gameplay video?
Embedded mid-article on this page (YouTube id ehrqxFBtFwA). Watch it, then replicate timings in your own runs.